

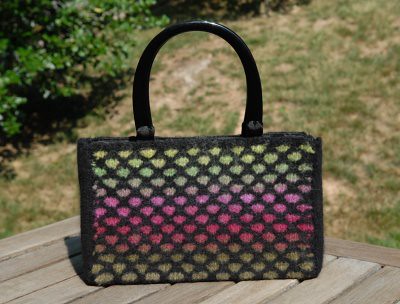
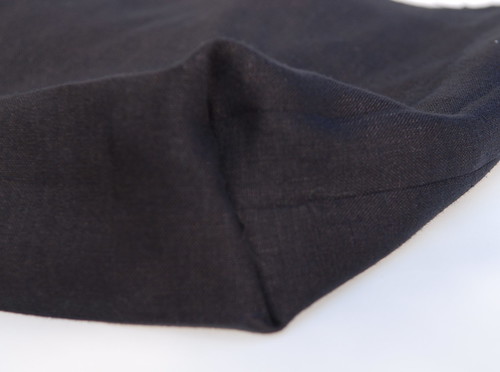
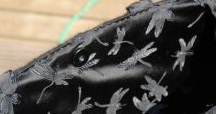
A handknit bag with a beautiful lining is much more polished and professional-looking. Take a look at this felted lattice bag – it wouldn’t be nearly as nice without that sumptuous black silk brocade.

Making a lining isn't difficult at all.
Step 1: Choose and prepare the fabric
Start by selecting a lining fabric that suits the style of your bag. Is the bag small and elegant? Try a silk dupioni or heavy silk brocade. Is the bag large and sporty? A heavyweight cotton might be a better choice. If the bag has a lot of color or texture on the outside, you may want a solid color, or a subtle woven design. If the bag itself is plain, you could choose a print for the lining.
Once you’ve got your fabric, cut it to the following dimensions:
Width of lining = width of bag + depth of bag + 1 inch for seam allowance
Height of lining = twice the height of bag + depth of bag + 1 inch for seam allowance
Step 2: Sew the side seams
Fold the lining fabric in half lengthwise, right sides together. With the folded edge at the bottom, stitch up the two sides using a ½ inch seam allowance.
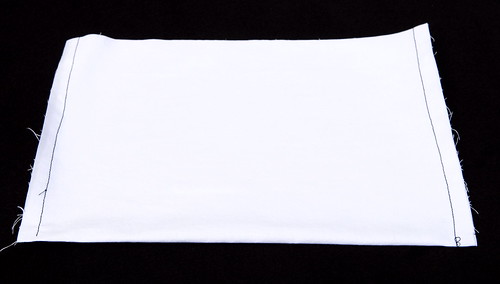
Press the seam allowances open.
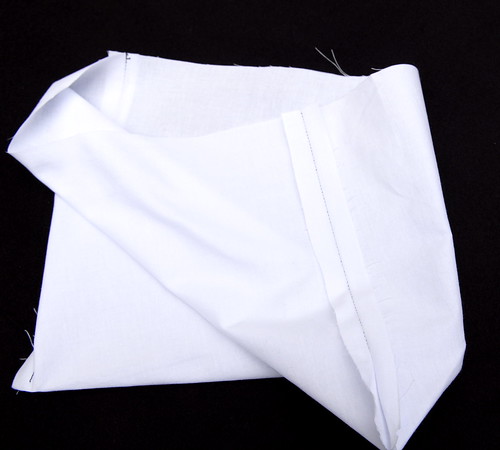
Step 3: Construct the gusset
You now have a flat envelope, open at the top. In order to make the lining match the shape of the inside of the bag, you need to add a gusset to the bottom. Take a corner of the lining and shape it into a point.
Measure out a triangle whose long side matches the depth of your bag. In this case, the lining is for a bag 2 inches deep, so I've marked off a triangle that's 2 inches at the top.

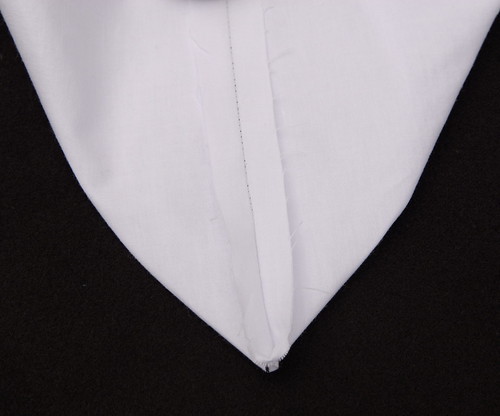
Press the triangle into place, then stitch across like this.

Do the same on the other side, and you’ll have your two gussets. Your lining now has a flat bottoms, just like your bag. The gusset looks like this from the right side:
(I know that's not the same lining -- I forgot to photograph the white one!)
Step 4: Fit the lining into the bag
Fold the raw edge over to the wrong side. Fit the lining into the bag, right side showing, and check to see if the top edge of the lining is where you want it to be in relation to the top edge of the bag. Adjust the top folded edge as needed to get the look you want – the lining could come right up to the very edge of the bag, or you might prefer to have a ½” or 1” gap. When you’re happy with where the top of the lining falls, sew it into place with a running stitch or whipstich.
Step 5: Admire your beautifully lined bag!

No comments:
Post a Comment